

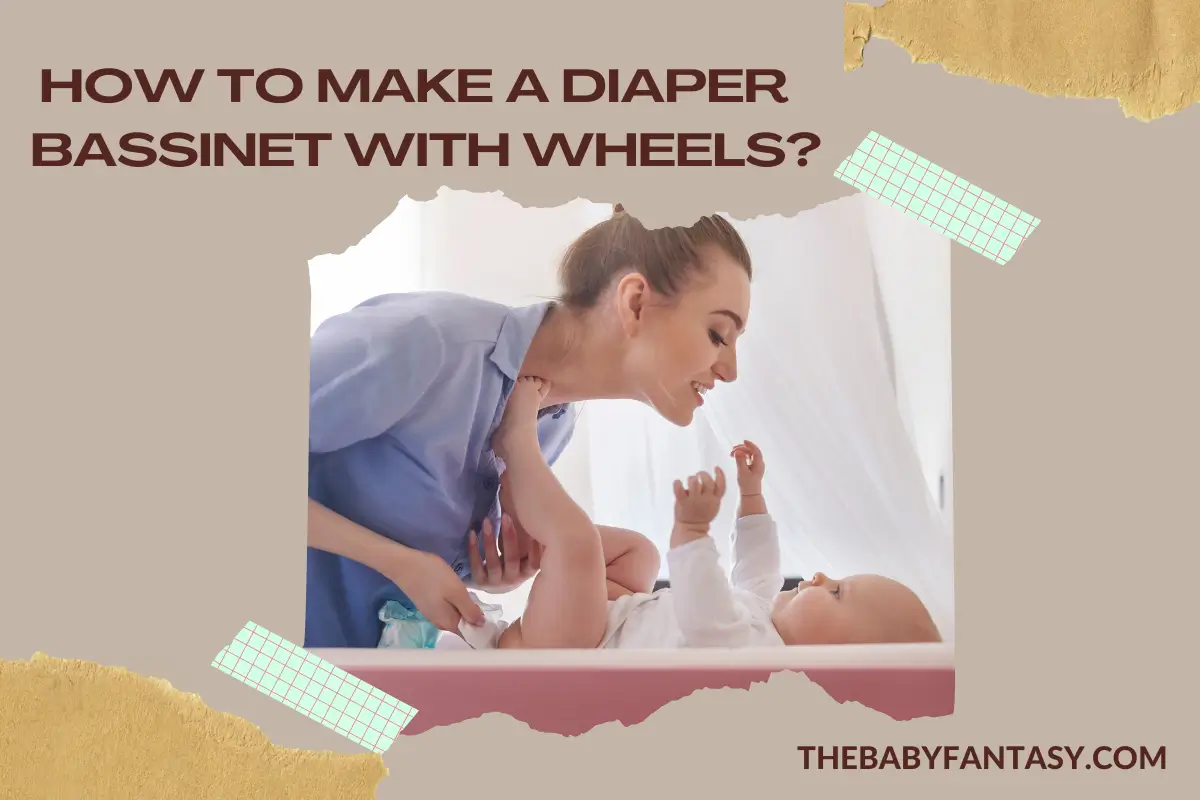
If you’re searching for, “how to make a diaper bassinet with wheels”. Stop searching now because we have awesome tips for you to make this.
Now, no need to worry or bother, you’re in the right place. Here’s a complete guide about How to make a diaper bassinet with wheels? So, keep calm and enjoy reading.
Every parent makes life more accessible and finds a way to be comfortable. Some parents are facing this issue, and this is how they can make their life easier with children.
A diaper bassinet with wheels can be an excellent alternative to a diaper changing table. Like other similar products that are out there on the market today. Your baby won’t feel alone when you bring them along.
If you want to discover more bassinet features. You can visit our top recommendations about bassinets. We only recommend those products that are tested by our team. These moms use these products, and then if; we find them suitable, talk about them.
Let’s explore these bassinets. You can also find here a wheel bassinet with a diaper changing table. So, it is helping you to make your decision easier.
It will give a sense of security to your baby. You don’t need to worry about where you will place your changing table. You won’t need to worry about how you will bring it from one place to another.
And without the disturbance of your child who’s sleeping inside it. After reading this, we hope that your query will resolve how to make a diaper bassinet with wheels. And, you feel relaxed. If you have any queries about the baby’s comfortable bassinet. Then you can visit How to make bassinet more comfortable.
Making a Diaper Bassinet on Wheels: Easy and Affordable
Many parents choose a diaper changing station with wheels when potty train times come for a baby. It is easy to move around. For example, you may want one next to your child’s bassinet in their bedroom.
So, you don’t have to take him down each time. Baby needs changing, or you’d like one at all three of your bathroom sinks. So, everyone has access. But if these aren’t an option for some reason, fear not! You can still build something which will work as well.
All you need is two inexpensive bookshelves from IKEA and PVC pipe. We use PVC pipes for water mains and manufacturing sewage pipes. But here, we use them for making a diaper bassinet for our baby.
IKEA, you may find a great selection of bookshelves and bookcases in a wide variety. Woo! Take five easy steps. If you cannot decide about buying the bassinet, here is the guide,” How to choose a bassinet?“.
Let’s get started!
- The size of diapers varies depending on the manufacturer. But they measure about nine by 11 inches. So, we’ll round up and use 10-inch pieces.
- Stack them up into groups of 10 pieces. Keep going until you have a single unit at least 24 inches tall (about five stacks).
- Next, stack another set of 10 onto each side. You’ll connect them using PVC glue. You make sure they’re both exactly 24 inches long when finished. We’ll call these bookends.
- Now, we need eight vertical supports about 18 inches tall. (4 per bookend) stacked up until there are no gaps between any pieces.
1.) Putting Together the Frame
The first step in building a Bassinet on Wheels is to put together your frame. When you plan, you can order large pieces of wood and have them cut for you at your local hardware store.
Yet, it will also work if you have smaller pieces cut them. And then assemble them yourself using large c-clamps or even duct tape. We recommend using 6 inches of spacing between each piece of wood. So, there’s plenty of room for attaching casters later.
It would be best to use 1x3s or 2x3s with 16-inch or 24-inch lengths. The length could not matter too much as long as they are all uniform in size and height. Once all your boards may be cut, lay them out in a rectangular shape and attach them with nails or screws.
Make sure to leave enough space around each side so that you can fit casters later. This area will refer to the well because it looks like a well when viewed above. Once you’ve got everything assembled. You may sand down any rough edges until everything looks smooth and professional.
You must read the full content for a better understanding. After all, you are here to find your answer about how to make a diaper bassinet with wheels.
2.) Adding Wheels
Diaper bags come on the market in all shapes and sizes, so what you need depends on where and how often you travel. Some bags are more significant than others. And have more compartments, or pockets, for keeping everything organized like a mainframe diaper bag pack.
Others are smaller or roll up into a backpack-style bag. Regardless of your needs and wants, most moms find that they need more than one bag. And when it comes to choosing between rolling bags or backpacks, there are some pros and cons to each option.
For example, rolling bags can be difficult to carry when complete. Take public transportation, especially. But many women prefer rolling bags. Because rolling bags offer more excellent protection from rain and other elements. Backpacks are easier to carry. But they don’t offer as much protection from weather conditions.
It’s a matter of personal preference and budget. The average price range for a good diaper bag is $40–$200. But, you can spend more. Suppose you want extra features, like built-in strollers. Or want insulated bottle holders or stroller straps.
It all depends on your needs. It’s much easier to make a diaper bassinet with wheels. And, you can save the extra costs. Suppose you plan to use your diaper bag as an overnight bag once the baby arrives.
Remember that those will generally cost an extra $50–$150, depending on size and style—no matter which type of diaper bag you choose. You go with something that fits your lifestyle. You’ll carry it around every day.
3.) Adding Mattress Support Bars
A baby bassinet mattress is for babies who weigh up to about 15 pounds. So, if you want your baby’s nursery to be baby-proofed, you must have some support system under that mattress.
Suppose your bassinet doesn’t already have support bars attached. You should follow these steps to install them.
- You must Use two brackets per side.
- Two screws per bracket.
- Secure four corner bars with bolts into each corner. Run one bolt through each bracket and tighten.
- Repeat with other brackets and corners.
- For extra peace of mind and safety for babies during travel. You Use a strap or latch system between railings and headboard or footboard.
- So, it can’t roll away when you let go of it during travel.
Some bassinets will come with built-in straps or latches to keep them steady. But if yours doesn’t, you can use nylon straps and plastic clips. It is the kind used for securing luggage to be holding everything together.
You should place loops at either end of each strap over the bed railing and clip the buckle. That ends together using plastic clips as needed to fit. That will ensure there are no gaps between the railing and straps. That allows the cradle to roll out while traveling by car or plane.
Don’t forget to take all the hardware off before moving the bassinet from room to room.
4.) Adding Side Rails
Making your diaper bassinet is pretty simple. This guide shows you how it’s done. For added safety, try adding side rails for toddlers. The superiority of making your own is that you can add features. Such as these and customize them to suit your needs.
It would be best if you did all your work with our recommendations. So, read on how to make a diaper bassinet with wheels.
Here are instructions from Parenting in Stilettos: Set up a PVC frame with two pipes for each side rail. The two pipes should be about 3 feet long. Secure them with pipe clamps or zip ties.
You need to attach one end of an L-shaped PVC pipe to each end of each rail using another pipe clamp or zip tie.
Finally, attach one end of a long piece of PVC pipe. This round is about 4 feet to each L-shaped piece using another clamp or zip tie. You now have a secure and sturdy frame for the baby’s bed.
And one that you can adjust as your baby grows. Be sure to use plenty of padding when setting him down.
Before attaching bassinet sheets, waterproof them by coating both sides with spray; you would place wax paper between sheets before starching and iron until dry. Wash new sheets according to the manufacturer’s directions before using them.
5.) Completing your Project of Making a Diaper Bassinet with Wheels
Tools of Choice:
Wood:
The piece of wood you choose will depend on your budget. Keep in mind that different types of wood must have different tools and skill levels as you become more familiar with tools.
Yet, you can work with more challenging and unique woods as well. We’d recommend using simple and inexpensive pine or poplar boards for beginners. Are you looking for something a bit fancier? You’d try oak or birch. Their softness is forgiving if you need to use a mallet or even sandpaper.
One thing to remember:
Tools are only one part of making your project stand out. You’ll need to invest time in effectiveness into practice and research before using them. It’s OK to skip some steps until later when skill levels have increased.
We recommend it. This way, you won’t be wasting valuable materials or money on an early attempt. That doesn’t turn out quite right. Instead, save these resources for when you know what you’re doing. Then, you would focus all your energy on practicing skills and perfecting techniques.
Conclusion: How to Make a Diaper Bassinet with Wheels
By using this, you do not need to worry about how you will bring it from one place to another. Some bassinets will come with built-in straps to keep them sturdy. By applying these techniques, you will get a fantastic diaper-changing bassinet.
So, please share this article with others to help those who have a query about how to make a diaper bassinet with wheels.